How To Configure MailChimp Add-On
So, assuming you have installed and activated our MailChimp Add-On, this is how you proceed.
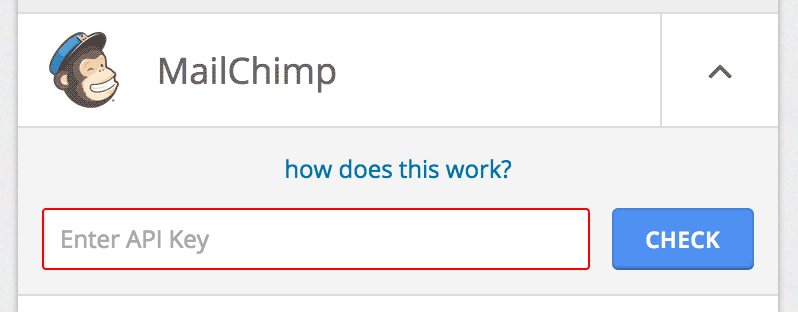
- Click on Add-Ons, in the form editor page. Click on the down arrow to expand the MailChimp Settings. You need to enter the MailChimp API key, and click on Check. Where to find the API Key?
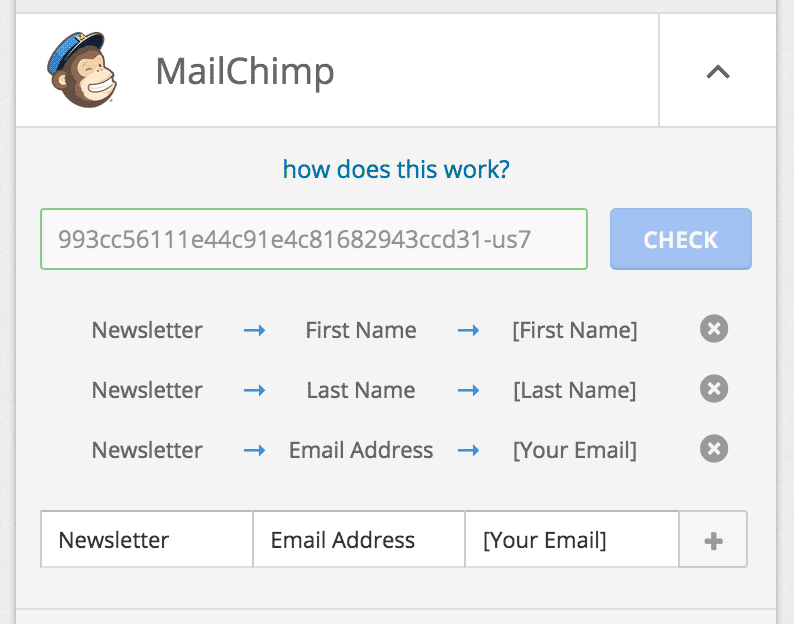
- If the key is valid, you would be able to see more options now. To submit data to your MailChimp list, we need to first map your form data to MailChimp.
You should be able to see three fields.
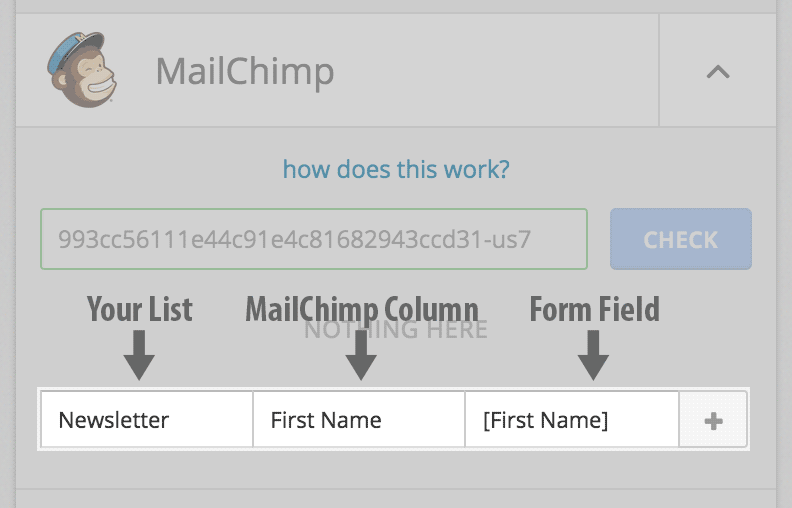
In the first one (Your List), select the list you wish to add to. In the second field (MailChimp Column), select the MailChimp column, and in the third field (Form Field), type in the label of the form field this MailChimp column corresponds to. The label needs to be enclosed in square brackets.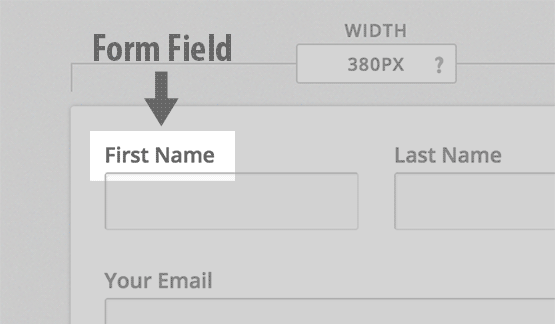
- Almost there. Now map rest of the fields from our form. You map to another list as well, allowing you to add users to more than one list, at once. Now click on Save, and we’re done!